This article dives into Marimo as an alternative to Jupyter Notebooks.
If you are in a hurry and only interested in the neural network activation section, jump to it right away.
What is wrong with Jupyter Notebooks?
Unclear dependency definition
Almost everybody working with Jupyter notebooks has experienced this problem before: A colleague sends you their notebook with the newest visualizations of the data science project your team is working on. Excitedly you open it up and click on “run all cells” just to meet the following error:

Ugh, couldn’t you have known this before? So the process of running each cell and fixing errors as they occur begins.
Sadly, there is no native way to define dependencies in your Jupyter Notebook itself.
Either you are lucky and a requirements.txt file is provided or, commonly in Google Colab Notebooks, there is an external call to pip that looks like this in a cell:
It is important to note here, that you don’t have any control over the environment in which your dependencies are installed. Depending on the setup your notebook is running in, you might modify your system’s Python installation, with unforeseen consequences. Therefore, it is best to create a virtual environment for every project and make sure your Jupyter session is using this environment.
Hidden state problem
After painstakingly installing the dependencies, the notebook runs further. It loads the evaluation data, starts the model and after a couple of fixes from your side due to hardcoded paths for additional required data, it starts the evaluation process. This takes a couple of minutes, and just before the final visualizations are rendered, there is another error about a missing function.
But there is no such function in the notebook. It also does not seem to belong to any particular library. Confused you write a message to your coworker. Their reply: “Ah yeah this part of the visualization code is in another notebook, I just cut it out to work on it separately. I’ll send it to you once I’m done with the refactoring.”
Git wrecked
After you went ahead and fixed up the notebook, you want to push your changes to GitHub. You open up the pull request, and upon review you are met with an agonizing 53K lines of code changed. Since the internal representation of Jupyter Notebooks is based around JSON objects, with much metadata for each cell, the git diffs can become massive.
Introducing Marimo
Marimo originates from Akshay Agrawal’s work at Stanford, who wanted to address the aforementioned issues.
Marimo notebooks are Python files in their essence, which can make use of the front matter introduced in PEP 723.
In this way, the dependency definitions can be included right with the code itself, eliminating the need for external dependency references like a requirement.txt or pyproject.toml.
When running Marimo in sandboxed mode
marimo edit --sandbox your-notebook.py
It will keep track of the packages you add and run in an isolated virtual environment created using the uv package manager. The dependency definitions will be written into the script preamble of the notebook file.
# /// script
# requires-python = ">=3.11"
# dependencies = [
#     "marimo",
#     "pandas==2.2.3",
#     "torch==2.5.1",
#     "torchvision==0.20.1",
# ]
# ///
import marimo

__generated_with = "0.10.7"
app = marimo.App(width="medium")

@app.cell
def _(mo):
    mo.md(r"""# Displaying CNN Activations in Marimo""")
    return
Here you can also see what the Python code in a Marimo notebook looks like.
Each cell is an anonymous function with a @app.cell decorator.
Due to Marimo’s internal data model, which centers around directed acyclic graphs (DAG), variables in each cell declare their dependencies in other cells such that no hidden state can exist between them. When you make changes in one cell, it gives you the option to run all cells again, which would be affected by it. In practice that means that you don’t even have to write the cells in the order they are run since the dependencies between the state changes are encoded in the graph.
To address the issue of large git commits, Akshay made the conscious design decision that small changes in code should be reflected via small changes in the git diffs. Marimo’s design documents explore this in more detail and can be found on their GitHub
Getting started with Marimo is as easy as installing it with your favorite package manager
pip install marimo
Once it is installed, you can create a new notebook via
marimo edit your-notebook.py
Which will launch the server and open the web user interface in your browser.
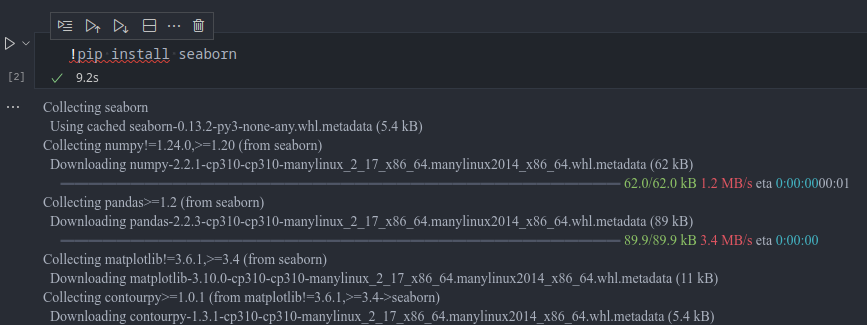
A nice thing you will notice about the package dependencies is that Marimo will analyze your cells for you and notify you if some dependencies are missing in the current environment, offering a one-click installation using your favorite package manager.

Investigating Activations in AlexNet
To put Marimo into action, I chose to investigate the activations of the forward pass of AlexNet. AlexNet is a relatively simple convolutional neural network (CNN) architecture, which stood the test of time as a nice baseline for image-based recognition tasks. For simplicity’s sake, we will use a pretrained variant, available through the torchvision library, which slightly deviates from the original AlexNet implementation to enable more parallelization on GPUs, as presented in the paper One weird trick for parallelizing convolutional neural networks.
It can easily be initialized with pretrained weights from an ImageNet classification task.
from torchvision.models import alexnet, AlexNet_Weights


# Initialize the AlexNet model with weights, trained on ImageNet
model = alexnet(weights=AlexNet_Weights.DEFAULT)

# Set the model into inference mode
model = model.eval()
As example images, three samples of the ImageNet dataset were chosen and can be selected in a dropdown.
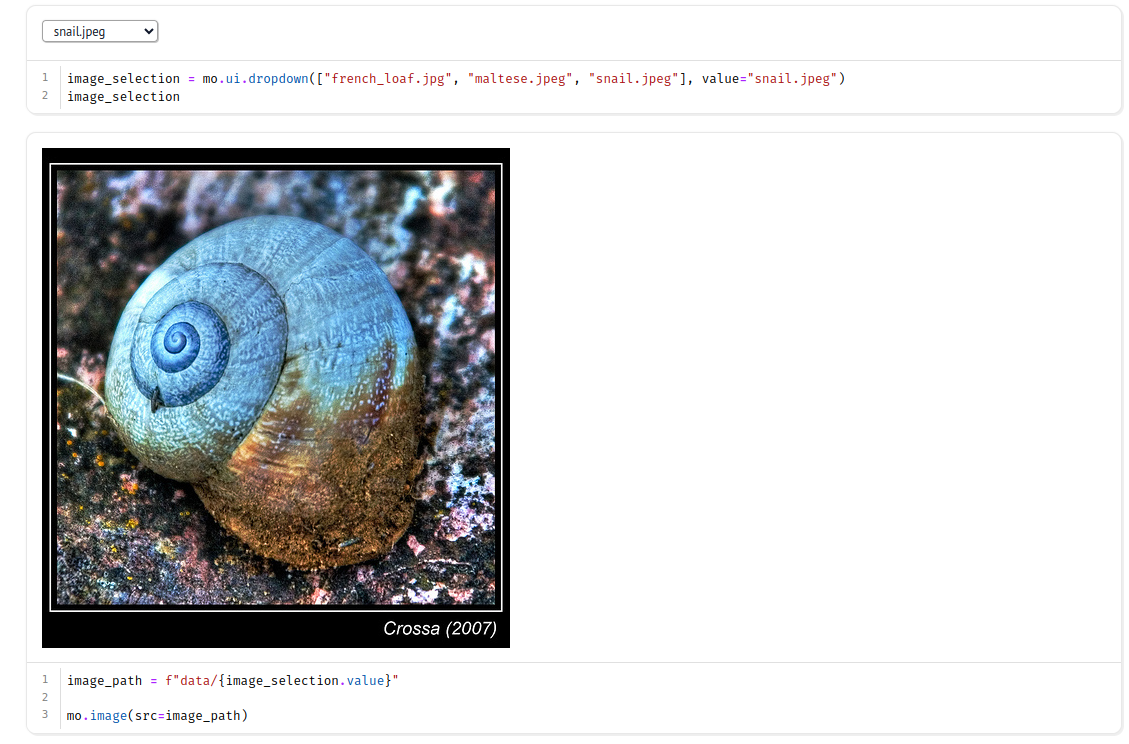
The marimo package is imported as mo in the documention, so I follow this convention.
The ui.dropdown component allows the user to select predefined values as well as a default value.
The currently selected value can be accessed via the .value attribute.
In the next cell the value is used to update the path for the mo.image component which will reload as soon as another option from the dropdown is selected.
Intercepting activations with Forward Hooks
To extract the activations during the forward pass of the network, I use PyTorch’s hook system.
With them, you can intercept the computational graph and process a snapshot of the gradient further.
In my case, I am simply storing the detached tensors in a dictionary named activations.
activations = {}
def get_activation(name):
    # the hook signature
    def hook(model, input, output):
        activation[name] = output.detach()
    return hook
Next, the hook needs to be attached to a particular layer. Let’s take the average pooling layer as an example:
h1 = model.avgpool.register_forward_hook(get_activation("avgpool"))
Once we run the forward pass through the model with model.forward(your-image), the gradient is stored in the dictionary and can be accessed via
activations["avgpool"]
To provide some more data, I added further hooks after the convolutional layers in the AlexNet architecture.
Visualizing the results
With the activations stored, let’s visualize them in a heatmap.
I am using Plotly for the added interactivity out of the box, but this example would also work with your default matplotlib functions.
After reshaping the tensor into a displayable format, it is presented via the imshow function.
Let’s make use of Marimo’s DAG representation to move the interactive selection to the top of the notebook, close to the visualization. The intrinsic of the data loader and visualization functions will be defined in later cells. Marimo will automatically figure out the variable dependencies between the cells at runtime.
While Marimo supports exporting to WebAssembly to run without any additional backend, this only works for pure Python dependencies and is therefore not possible due to torch and torchvision.
You can take a look at the static version below
The full notebook and all additional code can be found at the accompanied section of my GitHub.
Conclusion
As a long-term user of Jupyter Notebooks, I found the experience of using Marimo quite refreshing, and the above example showed the simplicity of integrating interactive widgets into your workflow, which can be quite refreshing to showcase results in a more captivating manner.
Further Resources
- Real Python Podcast Episode 230
- The podcast episode that introduced me to Marimo during a train ride and inspired me to give it a try
- Marimo Docs
- Lessons learned reinventing the Python notebook
- Official Marimo blog post, which outlines the design decisions and how they were realized